Friday, July 31, 2015

Launches

Need a fun way to launch at the end of a meeting? I agree that anytime you can share the same moment with a group of people, you have something in common to build on.  I am compiling a list of launch ideas for a principal friend of mine so I figured I would blog it too! 


 Sometimes it can just be a quick word of encouragement so check out my Words to Live By Pinterest Board.


Or just try to keep it real...and funny with my Just For Giggles Pinterest Board.


Or take something that isn't related to your job at all and make an analogy!  Like this harmless prank where a kid is trying to rinse out the shampoo in his hair and the prankster keeps adding more.  

Teachers can relate to this one.  We seem to have an endless supply of expectations (shampoo) in our lives and we can't ever seem to get it all done (wash it out)!

You could also just expose them to a video they can use in their classrooms.  There are a ton for inferencing, basic concepts, and brain breaks out there.  I have a few compiled on my 
Videos for School Pinterest Board.  But here is a fun & easy one minute launch:


Some videos can be teacher stress breakers, like this classic one about standardized test scores:
watch until the end- it's priceless  


I also think that a great launch could be DOING something for the school, community, staff member.  Here are some ideas off the top of my head:

  • Give everyone an index card to write an encouraging word to a nameless student.  Have them place it in their favorite library book! (Plan on doing this during this school year!)
  • Standing Ovation for a staff member. (feels so cool)
  • Everyone pitch in to complete a quick project
  • How about just a mandatory 60 second moment of peace and quiet? (wink)
Here are some quick links that have TONS of inspirational stories, jokes, etc to motivate educators:


Saturday, May 23, 2015

Powerpoint is my BFF

I don't know about the rest of the creative people out there, but I don't think I could live without Powerpoint.  I prefer it over Word or Publisher and is my go to no matter what I am doing.

Today I wanted to make a personal graduation gift for a friend who will be an elementary administrator next year.  We are both gaga for all things BrenĂ© Brown and if you don't know who that is, stop reading this and google her NOW.  She is the "Words to Live By" Queen in my opinion.

Anyhoo, I googled images for BrenĂ© Brown Quotes and I had a ton to choose from but I just wanted it to be more special than copy/paste.  So I turned to my BFF (Powerpoint) and check out my creations!


Who needs anything more than coffee, Powerpoint, an arsenal of fonts, and a little creativity and love?


Thursday, March 5, 2015

Still figuring it all out...

I feel like I have a much better understanding of paper piecing and quilting basics.  I just need to figure out how to get all my seams to match up in the end.  Practice makes perfect...
This is a Star quilt block pattern from Fresh Lemon Quilts.  After I pieced a 1/4 section, I decided to work more assembly line style- I'm blaming the janky  center on that.

Monday, March 2, 2015

Sewing Machine Cover Upgrade!

Here is my sewing machine cover before...
 Yes, that is a Half Price books bag.

Then I found this tutorial over at Sew Delicious and had a Moda "Social" Charm pack that was just waiting for the right project.  This is actually one of the few things I've sewn for myself!
Definite upgrade right?   So proud!

Made my own paper piecing pattern!

I wanted to make a Sugar Skull quilt square for a friend.  I couldn't find a pattern that didn't look like a minecraft skull so I decided to make my own!  (crazy right?!?)

Here is what I started with:

A coloring page.

Then I divided it into strips..


Tada!  Even the back doesn't look too shabby!

I appliqued the eyes and nose so they would stand out.

I then made a throw pillow!

This was the first time I added a (gigantic) handmade tag!

Best part is that my friend LOVED it!

One Block at a Time...

As you can see, I have been practicing my quilt squares.  I have learned that starch helps, cutting exactly really helps, the seam ripper is my friend,  and there really is a BIG difference when it comes to sewing with quality fabrics!
Pinwheel tutorial at SewMamaSew

Super Card Trick tutorial and pattern at Craft Sew Create

Mug Rugs and Paper Piecing!

I've decided that piecing and making quilt squares for mug rugs and such is way more doable than a big ol quilt!  So now I've started teaching myself techniques one quilt square at a time!  I have been watch tons of craftsy videos, but it has also been fun just to try some stuff on my own.


 Didn't these turn out great?  The tutorial at Not-so-plain-Jane really was a great one to follow.  Then I decided to piece the trees on my own!  Great volunteer and teacher gifts!


 Paper piecing has become my new obsession and this LOVE pattern was freebie that I have had so much fun making big and small!

Surprised my Husband with a Wooby for his birthday!

So I had tried a quilt before and it was hard.  I also did not sandwich it or do the actual quilting.   It turned out ok, but I wanted to complete a throw quilt from start to finish for my husband's birthday.

I fell in love with the Moda fabric called Table for Two and even though it isn't super manly, I was able to make it work!

I also started sewing with friends this year and one them has an awesome wall of felt to piece your projects together, so you can see I borrowed that idea for this project!  I backed and binded it with grey tones so it turned out just like I wanted!


Reading Pillows!

I have been so busy with life but still mixing in learning in my sewing room. Here are some of my accomplishments since school has started:


These are Reading Pillows.  I've had a blast learning how to mix and match colors AND work with piping!  I owe some major credit to this amazing tutorial at the Polka Dot Chair. They make great personalized gifts.


Friday, August 9, 2013

Fearless Sewer on the loose!

New Kindle, New Case :)

I have been contemplating on buying a lighter Kindle (love the Kindle Fire but it is SO HEAVY) so I could read outside and keep my carpal tunnel from flaring up all summer.  I finally ordered one and I love it!  Of course, I needed a cute way to carry this nifty little treat, so here is what I designed:


Notice that I have figured out the cute ruffle thingy, but don't look to close, it is not Etsy pretty.  I love these two fabrics together!


Also notice that I am no longer afraid of fancy snaps!  The first time I tried those suckers, I think I measured and thought it through for an hour!  I just went with my gut this time and it worked!  

I totally equate my sewing trial and errors to old school teachers and technology.  Sometimes teachers that cannot keep up with me when it comes to tech stuff will say, how do you figure all of this stuff out?  I usually just say, the key is "NO FEAR!"  As in, I am not afraid to mess things up, so I will click away until I figure it out.

I feel the same way they do about everything sewing.  I am too worried about messing stuff up like breaking my mom's machine, or ruining that expensive piece of fabric.  Once I realized that parts can be replaced, I am pushing that machine to its limits, and JoAnn Fabrics will always have a coupon for my fabric habit!

Watch out world, fearless sewer on the loose!

Thursday, July 11, 2013

Update: Getting Braver

Update: 

After making a few of these pups I got much braver!  I learned how to use an overcasting foot and stitch (so technical), and I've learned how to trace, cut, and piece the letters on the heat n bond faster and more efficiently!  I have also added a hood to all of my latest creations!

Notice the cupcake dot on the 'i"


Thanks to peeps like my friend Valerie, I have started trying new things in the sewing department.  It is so fun to know that I can tackle a new project and it come out less janky than expected!

It helps that Val totally believes in me.  I am only One Step Away... from being a decent sewer!  I don't feel like I can call myself a seamstress just yet, so the word "sewer" will have to suffice.

Here is the latest:


Personalized Pool Towels

Basically this project is a $4 towel (Target), scrap fabric, and Heat n Bond iron on adhesive.  We totally hand drew the letters on notebook paper.  I did use two spools of thread for the zigzag stitching. Check it out:


I think it took longer to decide which scraps to use than it did to make these!  


See?  Not janky even on the back! 


Tess is ready for me to hook her up now.  She chose the towel, fabrics, and thread.  We are thinking about adding a surf board or boom box to hers since she only has 4 letters. :) 


Monday, July 1, 2013

Sleep Sack recycle!

Update-  

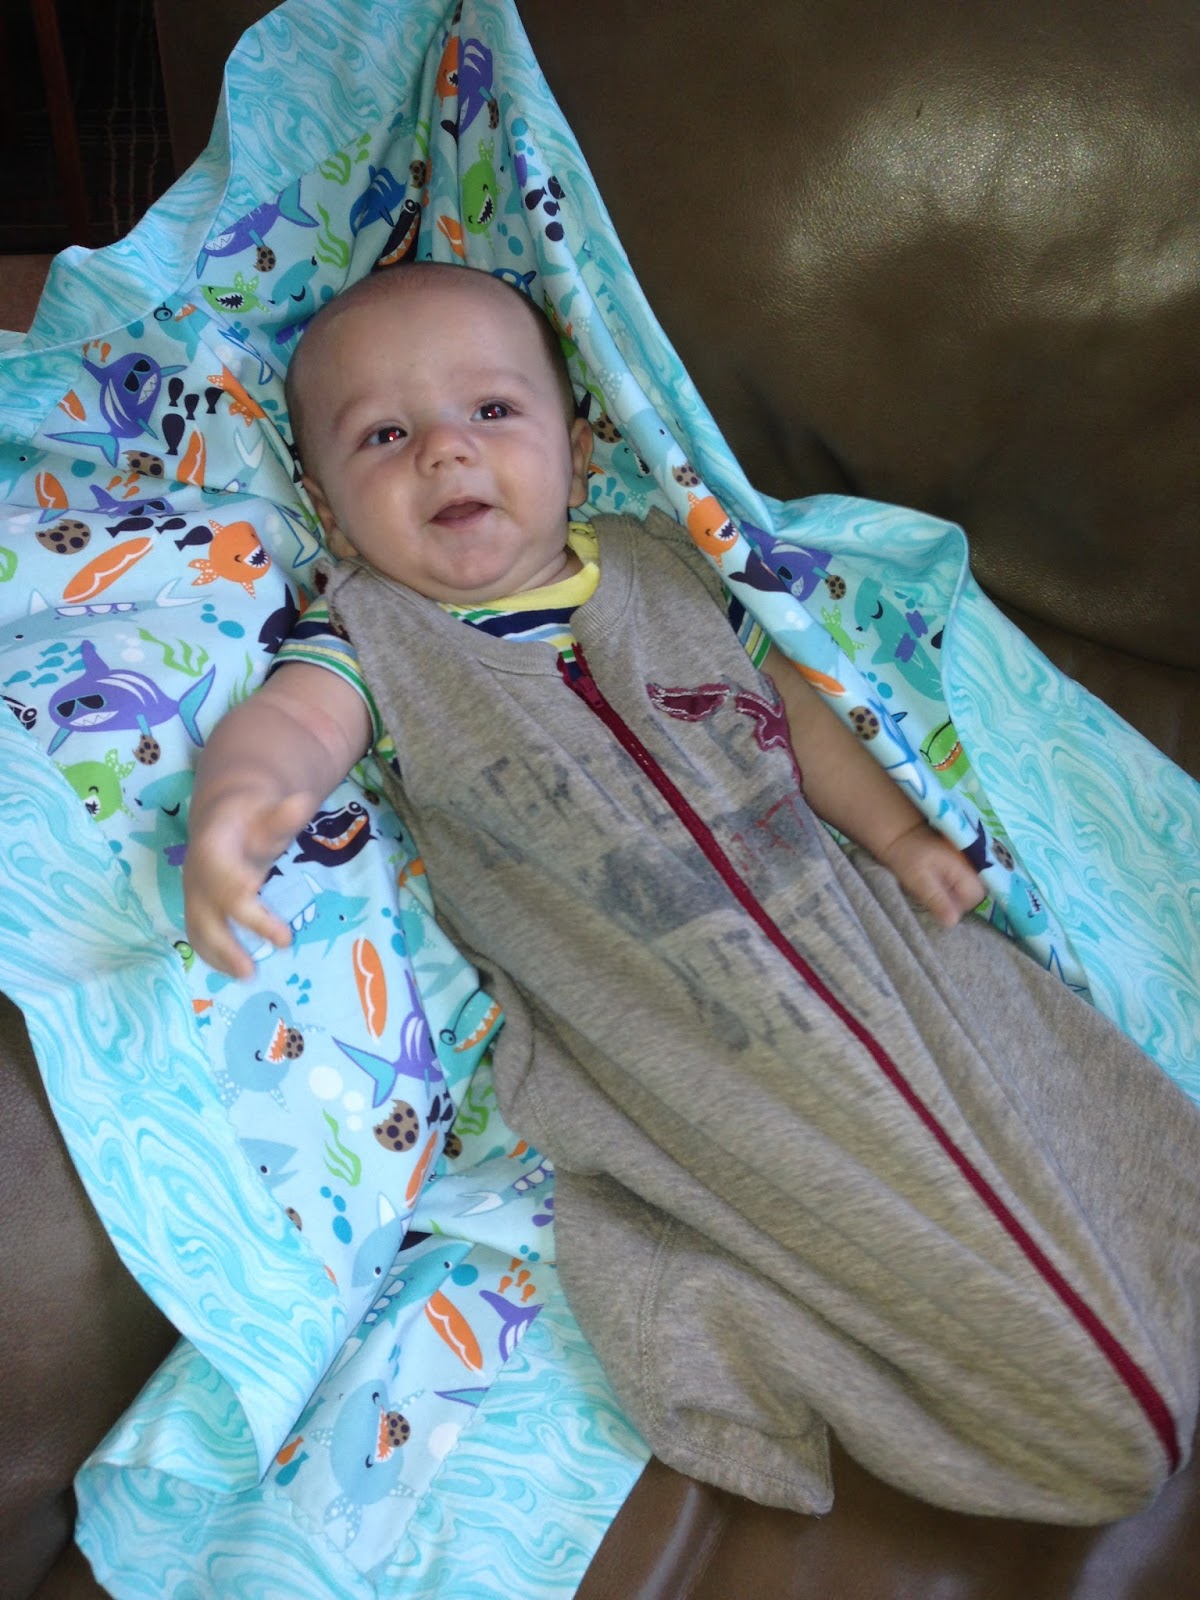
Brooks wearing the homemade Sleep Sack:


The skinny...

very soft, well worn, cool shirt
A friend asked me to sew a sleep sack for her little bit, and there are a ton of easy tutorials out there, but really it all comes down to the right material.  I have an old set of king sized sheets that I usually use for fabric when I am constructing something for the first time.  My boys were cleaning out their drawers and threw this shirt into the give away pile.  I have several generous friends who hand down some pretty nice clothes, so this shirt had been worn MANY MANY times.  You can guess what that means... SUPER SOFT!  So I decided to use it for my first sleep sack! 


soft baby sleep sack


All I really did was cut off arm holes and hem, add a zipper, and sew the bottom shut.  I will update with a picture of Brooks in it soon because I don't think it will be long enough for him for too much longer...

Sunday, June 23, 2013

New App called Story

I am really enjoying this new app from Disney called Story.  It allows you to share 20 pictures at a time with friends as an album.  The best part is it does all the work. Super simple with not too many bells and whistles so it is exactly what I need to actually get it done!

Friday, June 21, 2013

Update: Lollipop Bouquet

A while back I posted One Step Away...: 40 doesn't really suck... for a guy friend turing 40.  I decided to go a little nicer for my friend turning 50.  Fun to bring to a party right?

I got the jar at Hobby Lobby for 50% off and I used my 40% coupon for the styrofoam ball (those suckers aren't cheap!)  Add some ribbon, tag, and lollipops and there you go!

Variation: Use Blow Pops and say "Hoping 50 doesn't BLOW!"


Update: I'm still here!

If you are a teacher, you know that some things just don't happen during the school year. I didn't stop sewing or crafting, but I did stop blogging about it.  Since I use this blog to remember what I've done, I really do need to update!

 So here are a few projects I've completed since I last posted:

A few teachers and I decided to have a booth at our school's December Craft Fair.  It was hard pricing things and I would much rather gift my creations, but it was good experience!


I also mass produced a ton of gift card holders for the season. 


I shopped Amazon for most of Christmas, and I was feeling guilty on Christmas Eve waiting on a package from UPS.  So when he delivered the package about 6pm, I left a card, a liter of soda, and some holiday popcorn.  :)


All of my friends are having babies and grand babies so I used this handy dandy You Tube video to master making self binding receiving blankets.


Here are a few that I whipped up...


 I even made a coordinating layette bag 
to go with the one for Shelby at Dazzle! 


One of my best friends was having her second baby and really fell in love with this guitar print.  We searched and found it at the cutest little fabric shop called The Stitch Lab in Austin.


Remember, I just started sewing, and I am self taught, 
so she must be a REALLY good friend...


We quilted together a bunch of coordinating fabrics as starting point. I also backed it with minky (again, she is a REALLY good friend).


I also patched together a summer receiving blanket!


Then we decided I could figure out curtains and tada!


Last but not least I conquered the bumper pad and bed skirt.


Brooks Roland Bonn was worth it!


I also was able to conquer my fear of zippers by making a bunch of these cute key chains for my library volunteers:


I owe my victory to Erin Erikson over at Dog Under My Desk.  Her tutorial made it a cinch!

My volunteers loved them!
Related Posts Plugin for WordPress, Blogger...